
Blog
Registration Desk for Event Check-In: 5 Ideas That Work
Plan a registration desk for event day with 5 ideas: pre-registration links, self check-in, split lanes, a walk-in lane and a branded backup kit.
Published November 21, 2026
A good registration desk for event day does three jobs. It finds each attendee in seconds, it handles walk-ins without blocking the line, and it keeps working when the internet or printer fails. Of the five ideas below, pre-registration through a link suits ticketed or paid events, self check-in suits large crowds, a split alphabetical desk suits conferences, a walk-in lane suits community events that take cash or UPI, and a branded desk with a backup kit suits every organizer.
Most queues at an event registration desk come from the same causes. The attendee list lives in WhatsApp chats and loose sheets, badges are written by hand, one table does every job, and nobody has a plan for when something breaks. These are planning problems, not budget problems, and you can fix most of them before the doors open.
Pi-Square helps organizers in India sell tickets, collect advance payments and manage registrations through one shareable page, so the first idea starts there. Every idea is covered the same way: how it works, who it suits, and a checklist to set it up.
1. Pre-registration through one shareable link
The fastest desk is the one where attendees have already done the typing. Pre-registration moves data entry and payment out of the queue and into the days before the event.
How it works
With Pi-Square you build an event booking page in minutes from the mobile or web app, then share its link through WhatsApp, social media, a printed poster or your own network. Attendees can choose a ticket, fill in their details and pay in advance in a browser, without installing an app. You can add custom fields for t-shirt size, meal choice, a date or a session slot, and offer ticket variants or paid add-ons such as meals.
Orders, payments and invoices stay together as registrations come in. You can also offer discount coupons for early bookings. Start on the free plan with 10 items and 30 orders a month; paid plans add more capacity and a custom domain.
On the day, the desk only confirms identity against the list. Keep your confirmed orders open on a phone or laptop and match by name or phone number.
Every detail you collect before the event is a detail you do not have to collect in the queue.
Who it suits
Ticketed workshops, classes, pop-ups, stall bookings and donation drives gain the most. Payment gateway integration is optional; gateway charges are typically around 2% of order value and go to the provider. Manual payment tracking is free.
- Paid events where you need to know the headcount early
- Events with limited seats, slots or stalls
- Organizers who want registrations and payments together before event day
Setup checklist
- Ask only for what the desk and the event need
- Close pre-registration 24 hours before the start
- Send a confirmation with the venue, time and desk location
- Test the link on a phone before you share it
2. Self check-in station with QR codes
Self check-in lets attendees confirm themselves, so staff only step in when something goes wrong. It works best as a complement to pre-registration.
How it works
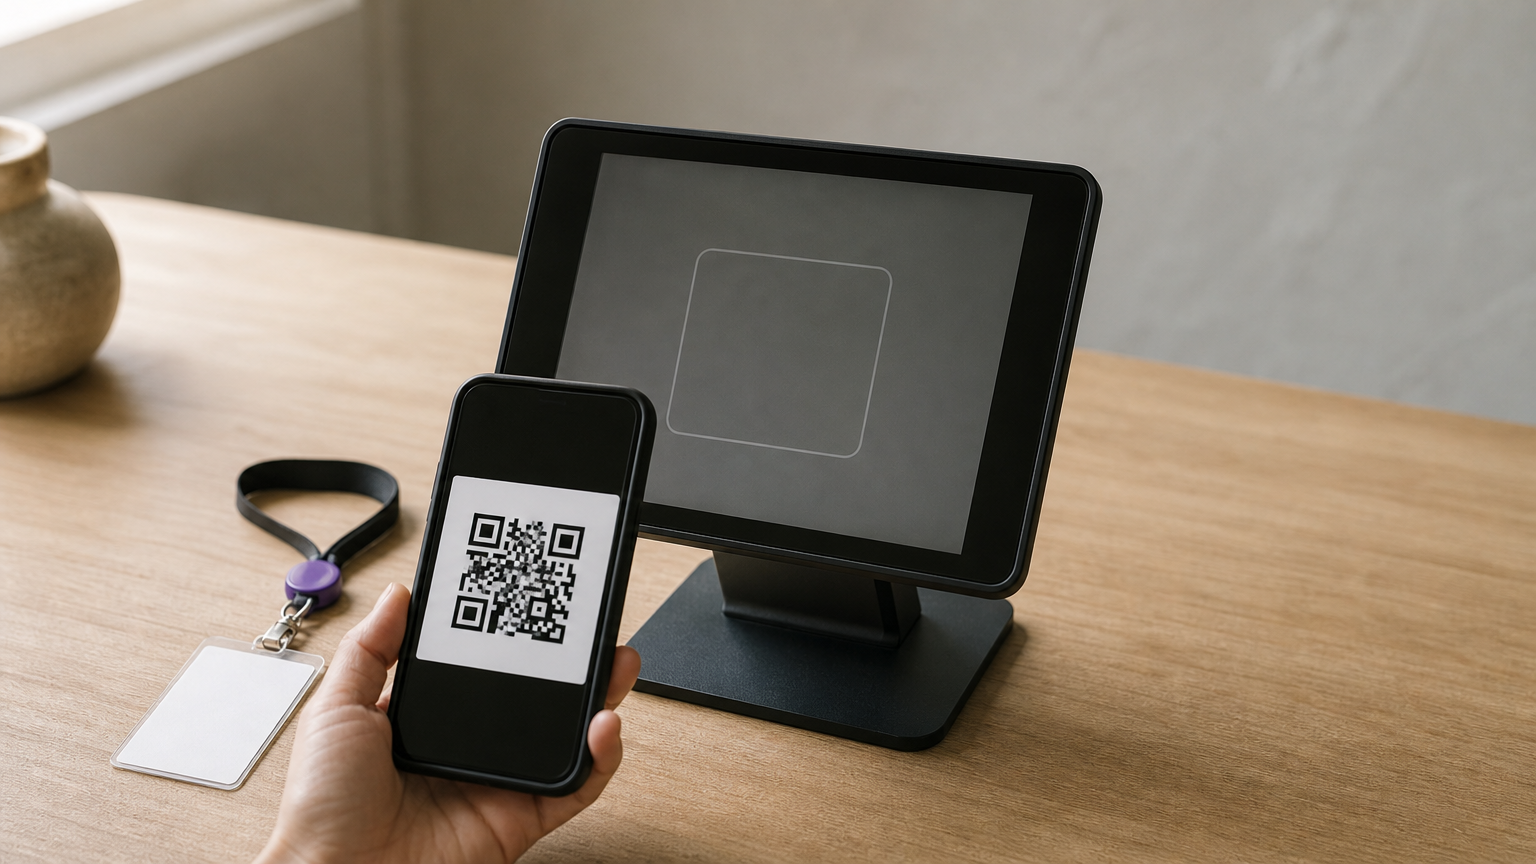
Each attendee receives a unique QR code in their confirmation. At the entrance, a tablet or phone running a scanner reads the code and marks the person as arrived. Place stations where they can be approached from all sides, with a host nearby to help.
Your registration tool must issue scannable codes, so check that before you commit. If it does not, a printed list and one staffer at the entrance does the same job more slowly.
Self check-in only saves time if a human stands next to it for the first ten minutes.
Who it suits
Events with 300 or more attendees, college fests, trade shows and corporate sessions benefit most. Small gatherings under 50 rarely need the extra hardware.
- Large, punctual crowds that arrive in a short window
- Attendees who are comfortable with phones
Setup checklist
- Scan ten test codes the day before
- Give each station a clear sign and one host per two stations
- Use a mobile hotspot dedicated to staff devices
- Keep a printed list at the desk in case scanning fails
3. Split desk by surname or ticket type
A single table cannot serve a rush. Splitting the event registration desk into lanes spreads the load and shortens every line.
How it works
You divide lanes by surname range, such as A to H, I to P and Q to Z. You add separate lanes for speakers, VIPs and prepaid groups. Badges are printed the day before and filed by lane, so the staffer only hands one over.
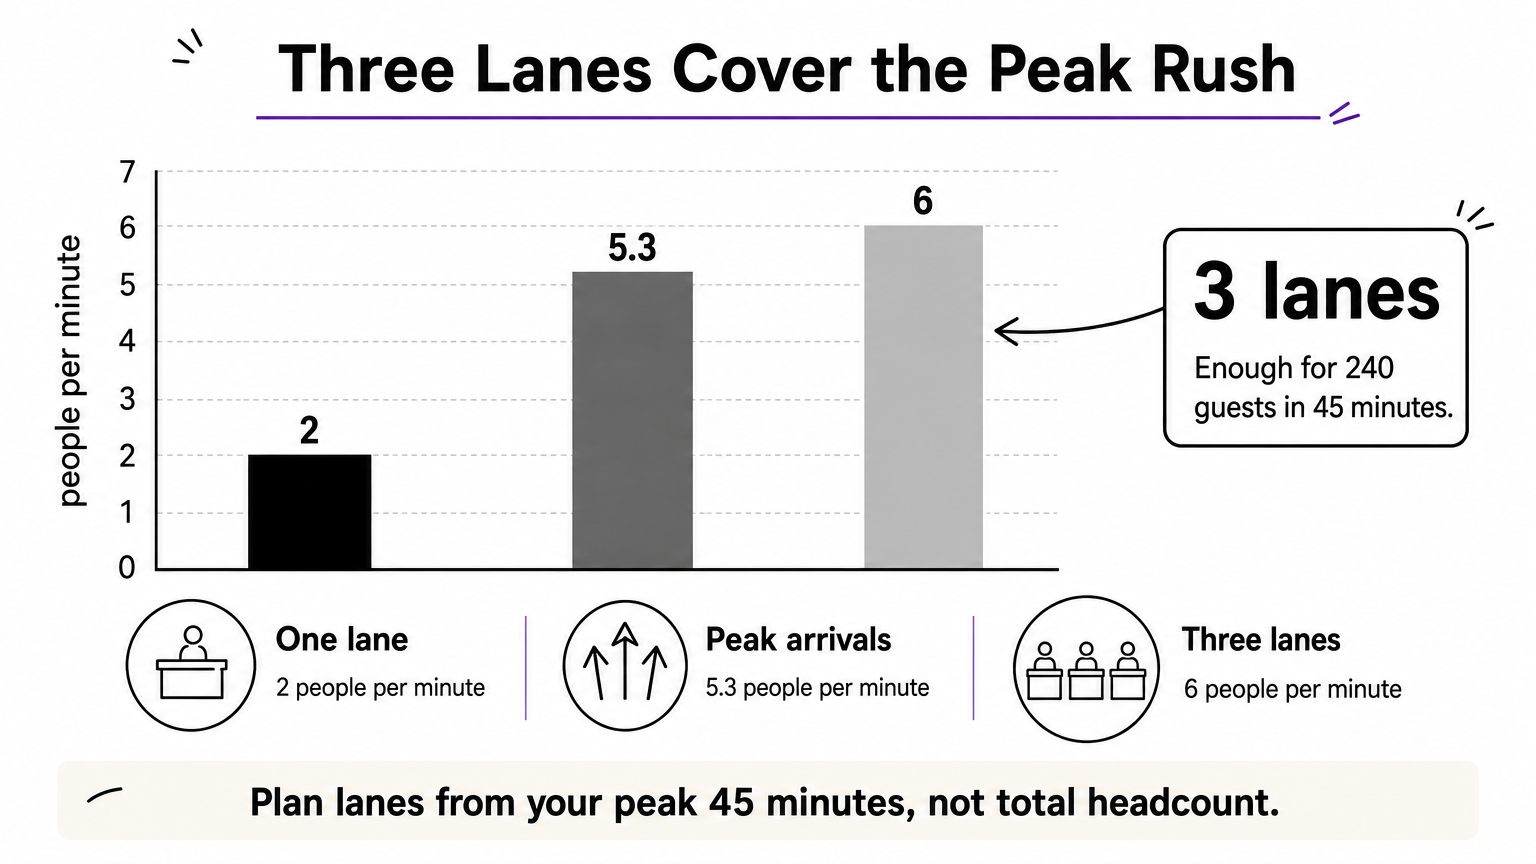
Work out the number of lanes from your arrival pattern. As a planning rule, assume a staffed station serves about 2 attendees a minute when badges are ready. Say 300 people are expected and 80% arrive in the first 45 minutes. That is 240 people, or about 5.3 a minute. Three stations at 2 a minute handle 6, so three lanes are enough.
Calculate lanes from your peak 45 minutes, not from your total headcount.
| Lane | Serves | Staff |
|---|---|---|
| A to H | Surnames A to H | 1 |
| I to P | Surnames I to P | 1 |
| Q to Z | Surnames Q to Z | 1 |
| Speakers and VIPs | Named list | 1 (can double as help) |
Who it suits
Conferences, seminars and corporate events with printed badges suit this layout. It works less well when you only know headcount on the day.
Setup checklist
- Print badges the day before and sort them by lane
- Mark each lane with a two-sided sign
- Keep a separate list for prepaid groups
- Brief staff on who handles name changes
4. Walk-in and help lane
Walk-ins and problems slow a queue more than anything else. A dedicated lane keeps them away from the people who are already registered.
How it works
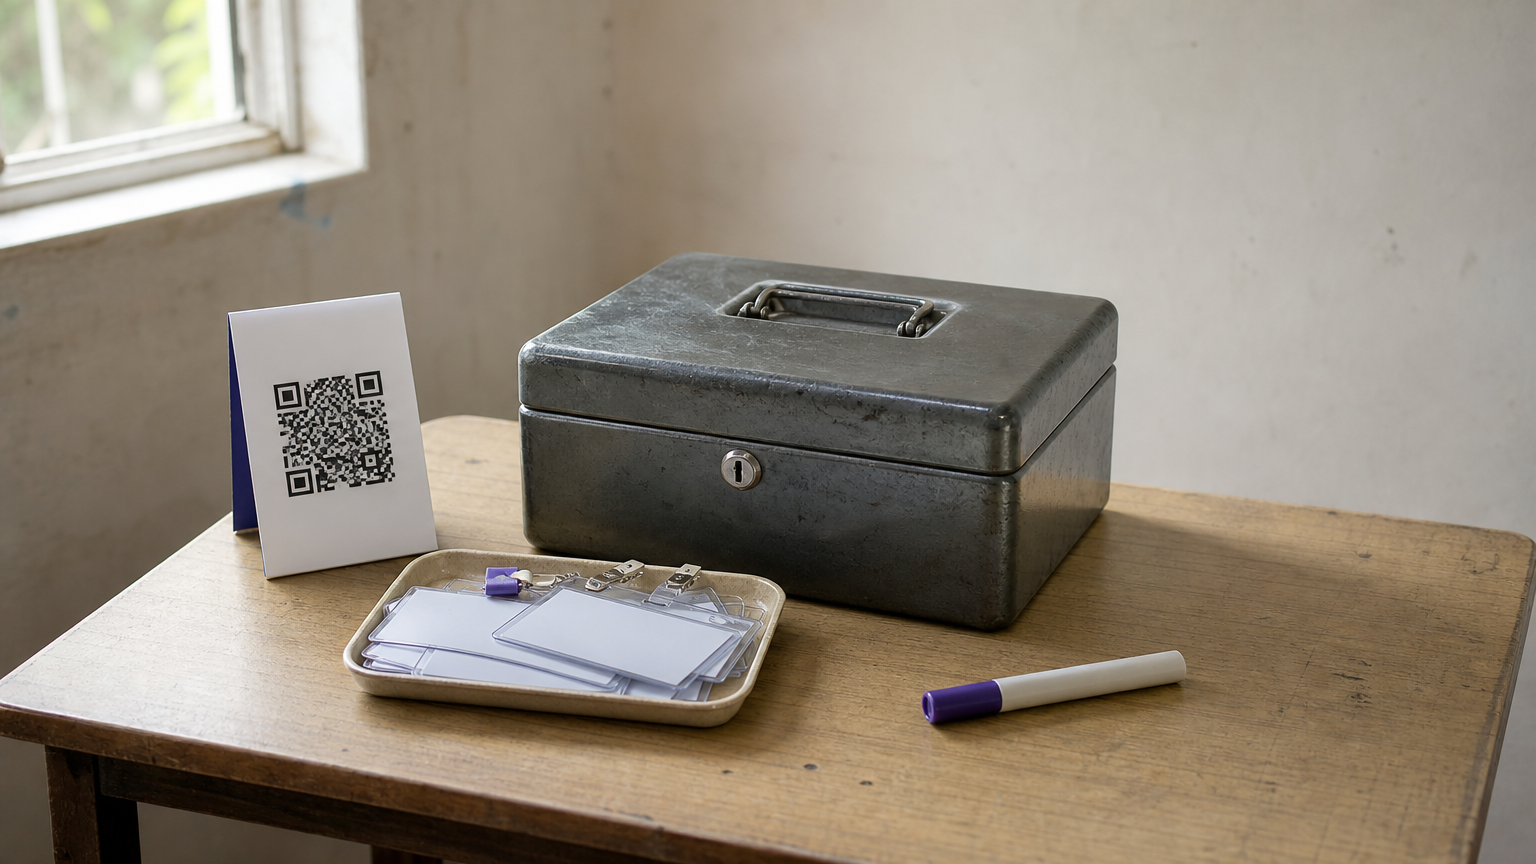
Put one desk at the edge of the entrance for walk-in registration, payment issues and badge corrections. Staff there add the person, take payment and hand over a badge. In Pi-Square you can enter these as manual orders and track cash or UPI payments at no cost, so every walk-in appears in the same list as your online registrations.
Give volunteers only the access they need. Pi-Square team management gives role-based access, so a helper can work on the booking site without managing everything.
Walk-ins and problems belong in their own lane, never in the main queue.
Who it suits
Community events, exhibitions, pop-ups and fundraisers that expect last-minute attendees need this lane. It also helps any event where payments sometimes fail.
- Events that accept cash or UPI on the spot
- Events with open entry on the day
Setup checklist
- Decide the walk-in price and payment modes in advance
- Carry change and a printed UPI QR code
- Keep blank badges and a marker at the lane
- Record every walk-in in your list before they enter
5. Branded desk with a backup kit
A tidy, branded desk tells attendees they are in the right place. A backup kit makes sure nothing stops the line.
How it works
Put the desk near the entrance but clear of the doorway, so a queue can form without blocking traffic. Use a table cloth that covers the front, an 8 ft table where space allows, and your logo on a banner behind the staff. Staff should stand while greeting people, stay off their phones, and never eat or drink at the table.
Pack a kit that covers the common failures. A power strip, spare pens, tape, extra badge holders and a printed attendee list cover most of them.
A printed attendee list costs almost nothing and saves the day when screens fail.
Who it suits
Every event benefits, but it matters most for corporate, paid and recurring events where your brand is on show. For free community events, keep the branding simple and put the effort into the kit.
Setup checklist
- Set up the desk the evening before
- Use two-sided signs with large, readable text
- Pack the kit: power strip, pens, tape, spare badges, printed list
- Remove rubbish between rushes and clear the table when registration ends
Pick one idea, then add a backup
You do not need all five ideas. Start with pre-registration so most of your data is collected early, add lanes or self check-in to match your crowd size, and keep a walk-in lane and a backup kit for the surprises. A clean event registration desk is mostly about deciding these things before the day.
If you want to sell tickets, collect advances and keep registrations and walk-in orders together, you can set up your event link on Pi-Square for free and share it wherever your audience finds you.