
Blog
How to Make an Event Registration QR Code Guests Can Scan
Create an event registration QR code in 4 steps: build the form, generate the code, test it, and use it for check-in. Includes size and placement tips.
Published November 6, 2026
To create an event registration QR code, build a registration page with its own link, paste that link into a QR code generator, export the code at high resolution, and print it on posters, invitations and entry signs. Guests scan it with their phone camera, fill in a short form, and they are registered. They install no app and type no URL. The whole setup takes under an hour.
Most QR codes for events fail for boring reasons. Organizers print the code first and think about the page later. The code then opens a form that is slow on mobile data, or a link that breaks after a rename, or a square too small to scan from across the room. Guests who are used to scanning UPI payment codes may also assume your code asks for money. Registrations end up scattered across WhatsApp chats and spreadsheets, and nobody knows who is actually coming.
This guide follows the order that avoids those problems: the page, then the code, then testing and placement, then check-in. We use Pi-Square as the example for the page behind the code, because it lets event hosts create a shareable link for registrations, tickets and advance payments. Any registration page works the same way.
How an event registration QR code works
An event registration QR code is a square image that stores a web link. When a guest scans it, their phone opens your registration page. That is all it does, and it shapes every decision in the steps below.
The code is only a link
The QR code holds no form, no guest list and no payment logic. It holds a URL. Everything the guest experiences after the scan comes from the page you point it to. A good page loads in seconds on mobile data, asks few questions and confirms the registration immediately.
So spend your effort on the page, not on the code’s colors.
A QR code is a printed link, so the page behind it decides whether guests actually register.
Registration code or check-in code
You may be searching for one of two different things, and the tools differ. The table shows which one you need.
| Registration QR code | Check-in QR code | |
|---|---|---|
| What it holds | One link, the same for everyone | A unique ID for each guest |
| Where guests see it | Poster, invitation, banner, social post | Their ticket or confirmation message |
| Who scans it | The guest, with their own phone | Your staff, at the door |
| What you need | A registration page and any QR generator | A ticketing system that issues unique codes |
This guide builds the first kind. For workshops, classes, pop-ups and community events of up to a few hundred guests, a single registration code plus a name check at the door is enough. Unique per-guest codes only pay off with large crowds or several entry gates.
Step 1. Build the registration page
Create the registration page before anything else, because the QR code can only point to a page that already exists.
Ask only what you need
Every extra field costs you sign-ups, especially on a phone. Start with this list and cut from it:
- Full name
- WhatsApp number, so you can send reminders
- Number of seats or guests
- Ticket type or session, if you run more than one
- Email, only if you must send documents or invoices
Three or four fields is the target. You can always ask for details later in a reminder message.
Every field you add to the form removes some guests who would have registered.
Set up the page with Pi-Square
In Pi-Square you create a booking link from the mobile app or the web app. You can take advance payments if the event is paid. Guests open the link in their browser and need no app. It is free to start, and the demo event booking site on pi-square.ai shows what a guest sees.
For paid events, you can connect a payment gateway or track UPI and cash payments manually. Manual payment tracking costs nothing.
Choose the link name carefully now. If you rename a Pi-Square link later, the old link stops working and someone else can claim it. A printed QR code that points to a dead link is a costly mistake, so never rename the link after you print.
Step 2. Generate the QR code
If you use Pi-Square, you can skip the separate generator. Pi-Square generates the QR code directly for your site link, with the correct dimensions, and it is ready to print. You do not resize it or check the quiet zone yourself. With any other tool, paste your registration link into a QR code generator, choose a static code, and export it as an SVG or a high-resolution PNG. The choices that matter are the code type and a few visual settings.
Static or dynamic code
A static code stores your link directly. A dynamic code stores a short redirect link that the generator controls.
| Static | Dynamic | |
|---|---|---|
| Destination | Fixed once created | Can be changed after printing |
| Scan counts | No | Usually yes |
| Cost | Usually free | Often a subscription |
| If the subscription ends | Keeps working | Often stops working |
Choose static for most events. The page behind your link is editable, so you can change the date, venue or ticket options without touching the printed code. Pick dynamic only when you need scan counts or expect to swap the link itself. If you do, check what happens to printed codes when the plan lapses.
Settings that keep it scannable
Small design choices decide whether a code scans in one second or not at all. Follow these:
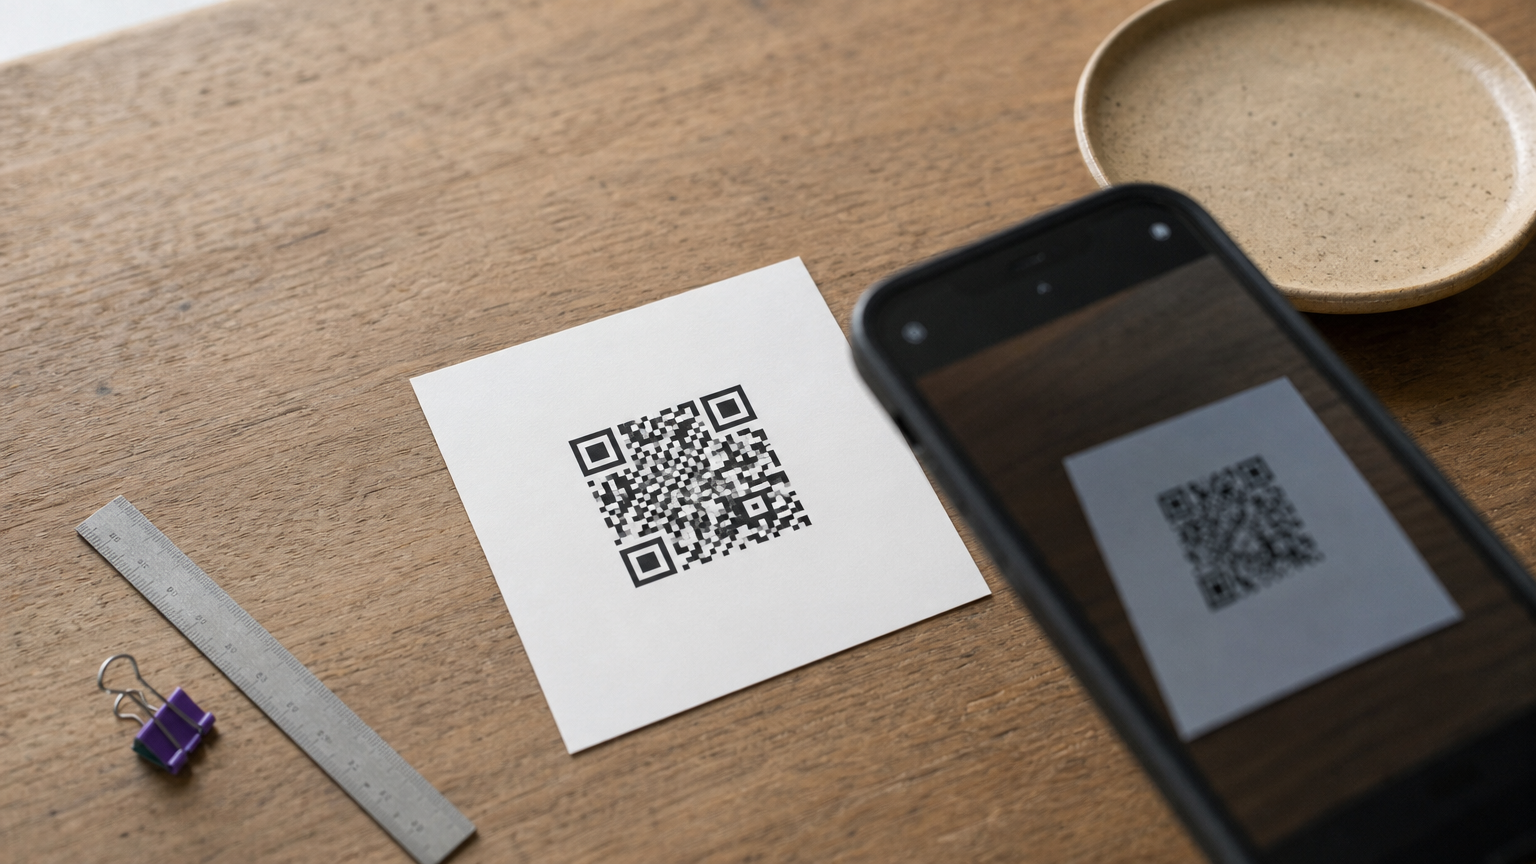
- Use dark modules on a light background. Inverted or low-contrast codes fail on many phones.
- Keep the blank border, called the quiet zone, at least four modules wide. Do not crop it.
- Set error correction to level M or Q. Level H (up to 30% damage tolerated) makes the pattern denser, so use it only if you add a logo.
- Keep any logo small and in the center.
- Export as SVG for print, so the code stays sharp at any size.
A plain black-and-white code at a generous size beats a stylish one that scans slowly.
Step 3. Test and place the code
Test the code on at least two phones at the size you will print, then place it where guests have a few seconds to scan. Both steps are quick and prevent most failures.
Test before printing
Run this checklist once the code is exported:
- Scan it with an iPhone camera and an Android camera.
- Scan it on mobile data with Wi-Fi switched off.
- Print one copy at final size and scan it from the real viewing distance.
- Submit a test registration and confirm it shows up on your side.
- Check the printed sheet under the venue’s lighting, since glossy paper reflects glare.
Fix anything that fails before ordering 200 copies.
Size and placement
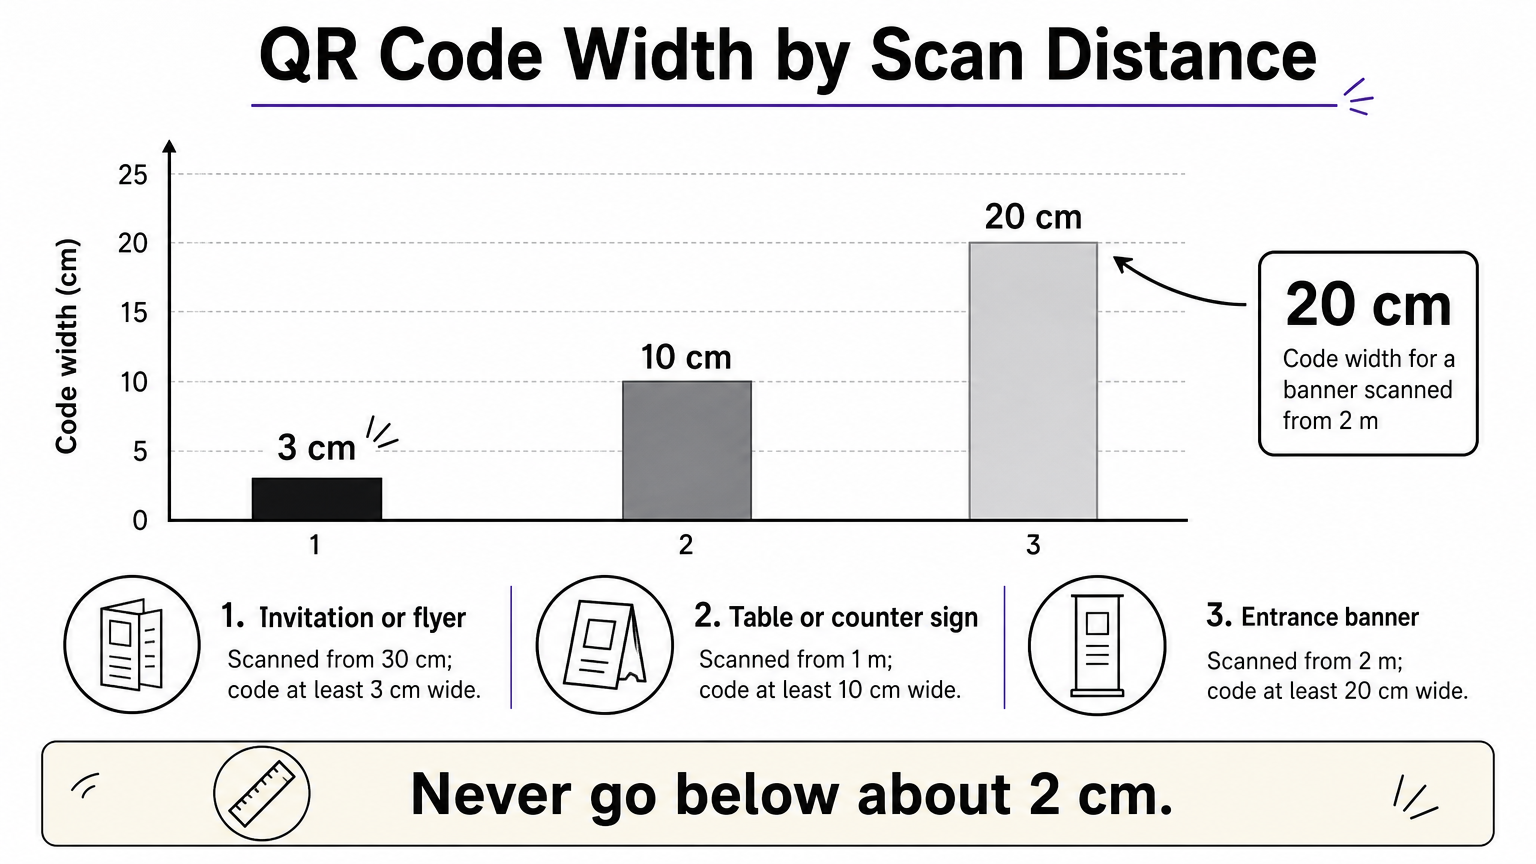
A common rule of thumb is that the code’s width should be about one tenth of the scanning distance. Never go below about 2 cm.
| Placement | Scan distance | Minimum code width |
|---|---|---|
| Invitation or flyer | 30 cm | 3 cm |
| Table or counter sign | 1 m | 10 cm |
| Entrance banner | 2 m | 20 cm |
So a banner that guests read from 2 meters needs a code about 20 cm wide. A code the size of a postage stamp on that banner will not scan.
Always label the code. Guests in India scan payment codes at every counter, so say plainly what this one does. Here is text you can copy onto your poster:
Scan to register
Free entry. Limited to 150 seats.
Can't scan? Open: your-link-here
If the event is free, say “no payment needed”. If it is paid, say what the guest will pay. Add the short link in text as a fallback for guests whose camera will not read the code.
Step 4. Use the list at check-in
At the door, check each guest against your registration list, and send a WhatsApp reminder the day before so the list matches who turns up. Registration is only half the job.
Prepare the door
Open the registrations on a phone or tablet before doors open. In Pi-Square, you can manage your orders and their fulfillment status. Keep a printed copy of the list as a backup in case venue Wi-Fi drops. Put two people at the door for events above 100 guests, one to find names and one to welcome.
A short reminder message the day before, with the time, venue and a map pin, cuts no-shows and gives guests a reason to reply if their plans change.
When you outgrow one shared code
If you run several entry gates or expect a few hundred guests or more, add a dedicated check-in tool that issues a unique code per guest. Your registration QR code still handles sign-ups. The unique codes only replace the name check at the door.
Start with one shared code and a name check, and add per-guest codes only when the queue proves you need them.
Print only after you have tested
An event registration QR code is simple once you see its parts. The page collects the details, the code opens the page, testing proves it works, and the registration list runs your door. Keep the form short, use a static code, print it large with a clear label, and never rename the link after printing.
If you want a registration page that guests can open from a link without installing anything, create your event registration link on Pi-Square. Pi-Square generates the QR code for that link with the correct dimensions, so you can print it straight away.